My middle initial is F. Growing up, other kids naturally assumed it stood for Frances. They’d snicker a bit because it was the 70s and Frances was old-fashioned, not yet recycled and polished by popular opinion.
The F actually stands for Frugal – not truly actually, but metaphorically actually. Yes, I had Britannia jeans. I searched until I found the deeply discounted baby blue brocade. My cheap Ocean Pacific shirt was black, not the more fashionable turquoise or purple with tropical prints. I probably purchased my beloved lilac Izod (no, not Lacoste, Izod) polo shirt on sale at Dayton’s.
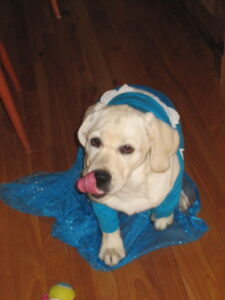
Folks, I grew up on powdered milk and frozen green beans. When I learned that some parents are forking over $1600 for Elsa’s Dress, my middle initial began quivering in righteous indignation.
Without further ado, here’s a step-by-step guide to a DIY Elsa’s Dress.
Budget: less than $1600.
1) Google “Elsa’s dress” to refresh memory about color scheme.
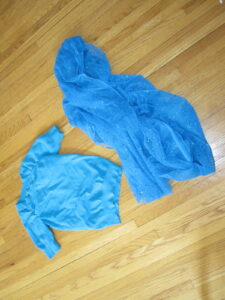
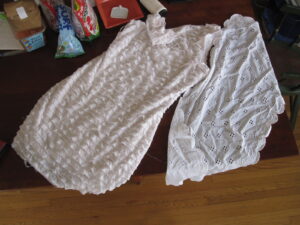
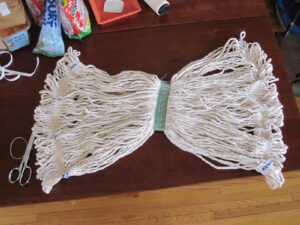
2) Visit favorite thrift store. Drag home a pile of possibility and dump it on kitchen floor.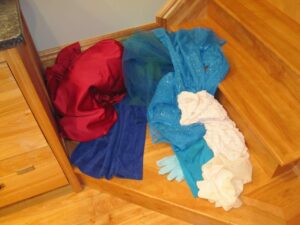
3) Recruit Elsa. Scold Elsa for peeing on the pile of possibility. Wash pile in oxiclean.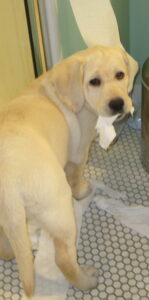
4) Curse Disney and all its subsidiary companies.
5) Evaluate options for adherence – super glue, stitching, duct tape, staples. Borrow mother’s sewing machine.
6) Note lack of thread. Refresh memory on how to thread sewing machine. Curse Husqvarna and all its subsidiary companies (including Viking).
7) Eat dark chocolate to bolster energy and confidence.
8) Inadvertently share dark chocolate with Elsa. Feed Elsa hydrogen peroxide. Clean up doggie vomit.
9) Curse Lindt and all its subsidiary companies.
10) Refer to Google image. Decide that the items in the pile of possibility look nothing like Elsa’s Dress. Lower your standards.
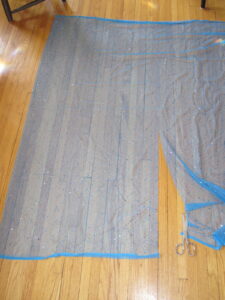
11) Decisively chop into the fabric, preferably with real shears, though a butcher knife, hacksaw, or machete will do.
12) Contemplate your hourly rate and how it lines up with the cost of Elsa’s dress on Ebay.
13) Conclude that pinning the parts together prior to sewing might have utility. Forage in the basement for pins. Curse your hoarding grandmother and all her genetic subsidiaries.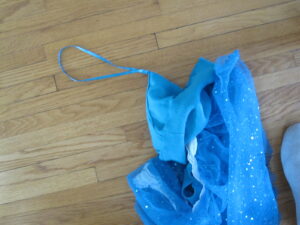
14) Pin the parts together with needles.
15) Break the bobbin thread after jamming the machine with loops trapping the pressor foot. Refresh memory on how to refill bobbin. Repeat step 6.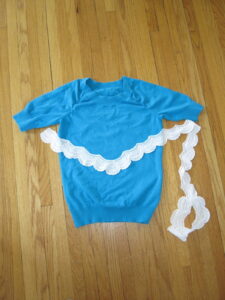
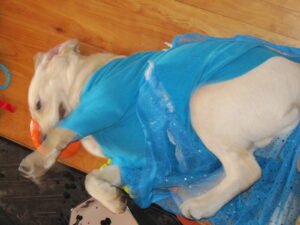
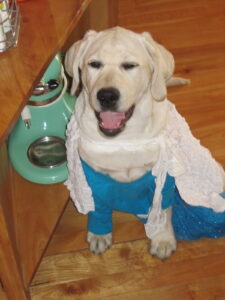
16) Remind yourself that you are costuming a labrador retriever. Lower standards further and finish the job.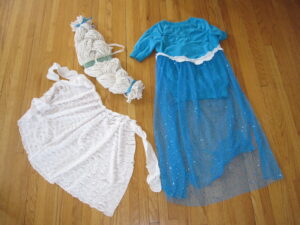
17) Walk Elsa several miles before attempting a fitting.
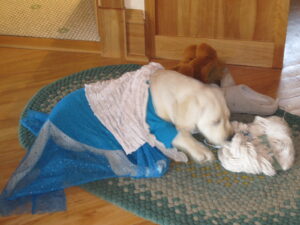
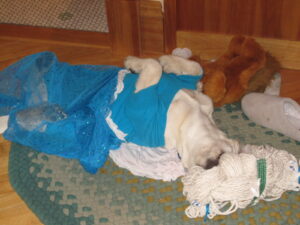
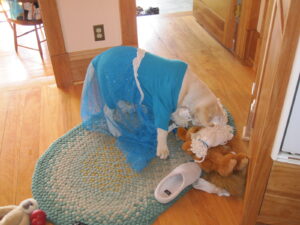
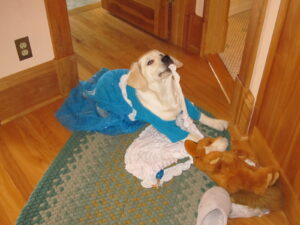
18) Remove beautiful sparkly train from Elsa’s slobbery jaws. Shove Elsa’s paws in the armholes. Remove beautiful sparkly train from Elsa’s slobbery jaws. Yank skirt down over Elsa’s haunches. Remove beautiful sparkly train from Elsa’s slobbery jaws.
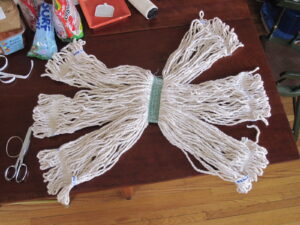 19) Attempt to take picture of Elsa and her dress. Remove camera cord from Elsa’s teeth.
20) Set cape on Elsa’s shoulders. Pick cape up off floor and set on Elsa’s shoulders again. Remove cape from Elsa’s mouth and try to tie around neck. Accidentally tie bow in Elsa’s mouth. Abandon cape altogether.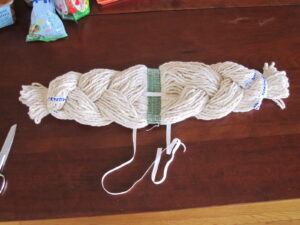
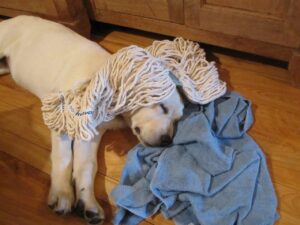
21) Gingerly set wig on Elsa’s head. Watch Elsa “kill” wig by thrashing her head hither and yon. Remove wig from Elsa’s jaws and place on head again with camera poised. Retrieve camera from Elsa’s mouth. Give up on wig.
22) Attempt to take “still” photos while Elsa chews on wig. Resort to video.
 23) Add money saved ($1600 – $2.75 = $1597.25) to Elsa’s 529 educational fund.
24) Lock Elsa in kennel and take a nap.

Too funny!!! Concerning the black T shirt – we shopped at the Ocean Pacific shop in EDINA, no less, and paid full retail!!!! It seems it took hours to find JUST the right one. See, it sticks in my memory is was such a rare occasion! We also bought a bathing suit for you there on another shopping trip!
Dearest Mither – we did not pay full retail. Of this I am absolutely certain!